Easy Wheatgrass: Grow Fresh Shots at Home Without Soil
Imagine starting your day with a vibrant, nutrient-packed shot of wheatgrass, knowing it was grown right in your kitchen with minimal effort and cost. For many, wheatgrass conjures images of expensive juice bars or complicated gardening setups. The truth is, cultivating this powerhouse green at home is surprisingly simple, especially when you master the ingenious soilless method. This article will be your comprehensive guide on how to grow wheatgrass at home without soil, transforming your approach to personal wellness and saving you a significant amount of money in the process.
Wheatgrass is, quite simply, the young grass of the common wheat plant, harvested within 7-10 days of sprouting, long before it develops any gluten. It gained notoriety as a "shot of health" due to its impressive nutritional profile. While you can find it as a powder or supplement, the benefits and vitality of fresh, homegrown wheatgrass are truly unmatched. Forget the daily expense of store-bought shots; with this guide, you’ll be harvesting your own green goodness in no time.
Why Grow Wheatgrass at Home (and Why Without Soil)?
The decision to grow wheatgrass at home offers a multitude of advantages, both for your health and your wallet. Opting for the soilless method further enhances these benefits, making it an ideal choice for urban dwellers, beginners, or anyone seeking a cleaner, less messy approach.
- Unmatched Health Benefits: Fresh wheatgrass is a nutritional marvel. It’s an exceptional source of chlorophyll, often called "plant blood" due to its similarity to human hemoglobin. Beyond this, it's packed with a spectrum of vitamins including A, B-complex, C, E, and K, as well as essential minerals like iron, zinc, copper, and manganese. Many tout its ability to act as a natural detoxifier, cleansing the liver and blood, and its powerful antioxidant properties help combat chronic inflammation. Regular consumption can boost your immunity and overall vitality.
- Significant Cost Savings: A daily wheatgrass shot from a local juice bar can quickly add up, becoming a considerable recurring expense. Growing your own organic wheatgrass can drastically cut these costs, making this superfood accessible without breaking the bank. For more on the financial benefits, check out our guide on Grow Wheatgrass at Home: Save Money & Boost Your Health.
- Ultimate Freshness & Purity: When you grow your own, you have complete control over the process. You can ensure organic seeds are used and avoid any pesticides or unwanted chemicals, guaranteeing the freshest, purest shots possible, bursting with living enzymes and nutrients.
- Convenience at Your Fingertips: No more trips to the store or juice bar. Fresh wheatgrass is always just a snip away, ready to be juiced whenever you desire.
- The Benefits of Soilless Cultivation:
- Cleanliness: Growing without soil eliminates the mess associated with traditional gardening. No dirt spills, no muddy hands, just clean greens.
- Reduced Risk of Pests & Mold: While not entirely immune, a soilless setup, when maintained correctly, can reduce issues with soil-borne pests and certain types of mold that thrive in organic matter. Proper air circulation is key.
- Simplicity: Fewer materials are required, making the setup and maintenance incredibly straightforward, perfect for beginners.
- Speed: Often, the soilless method can yield a slightly faster germination and growth rate, thanks to direct access to moisture.
- Space-Efficiency: Ideal for small apartments, kitchen counters, or urban environments where outdoor gardening space is limited.
What You'll Need for Soilless Wheatgrass Cultivation
One of the beauties of growing wheatgrass without soil is the minimal equipment required. Gather these essentials, and you'll be well on your way:
- Organic Wheatgrass Seeds: Essential for a pure, healthy harvest. Look for "hard winter wheat" berries.
- Sprouting Container or Glass Jar with a Mesh Lid: This is for the initial soaking and sprouting phase. A Mason jar with a sprouting lid works perfectly.
- Shallow Growing Trays: Food-grade plastic trays are ideal. You won't need drainage holes for the soilless method as you'll be managing moisture carefully. A standard size like 10x10 inches is a good starting point.
- Filtered Water: Using filtered water can help prevent mineral buildup and potential contamination that might affect growth.
- Spray Bottle: For misting your growing grass, ensuring even moisture distribution.
- Sharp Scissors or Knife: For clean harvesting.
- Optional: A slow masticating juicer will extract the most juice and nutrients from your wheatgrass.
Step-by-Step: Sprouting Your Wheatgrass Seeds
The initial sprouting phase is identical whether you plan to grow with or without soil. This prepares your seeds for rapid growth.
- Rinse Thoroughly: Place your organic wheatgrass seeds in a colander and rinse them well under cool running water. This removes any dust or debris.
- Soak for 8 Hours: Transfer the rinsed seeds into your sprouting container (e.g., a glass jar). Add enough filtered water to cover the seeds by at least an inch (about 1 cup of seeds per 2-3 cups of water). Cover with the mesh lid and let them soak for approximately 8 hours, or overnight.
- Drain & Rinse Cycle (2-3 Days): After soaking, drain the water completely through the mesh lid. Rinse the seeds thoroughly again with fresh water, then drain completely. Invert the container at an angle to allow any excess water to drip out and ensure good air circulation. Repeat this rinse and drain process 2-3 times a day for the next 2-3 days. You'll soon see tiny white sprouts (radicles) emerging from the seeds – this indicates they're ready for the next stage!
Cultivating Wheatgrass Without Soil: The Hydroponic-Style Method
Once your seeds have sprouted, it's time to transfer them to your growing tray. This is where the magic of the soilless method truly begins.
- Prepare Your Tray: Take your shallow growing tray. There's no need for any growing medium.
- Spread the Sprouts: Carefully and evenly spread the sprouted seeds across the bottom of the tray. Try to create a single layer, ensuring that each seed has contact with the tray surface but isn't overly crowded.
- Initial Misting: Gently mist the sprouts with filtered water from your spray bottle. The goal is to keep them consistently moist, but not sitting in standing water.
- Encourage Rooting (Optional Dark Period): For the first 1-2 days, you can cover the tray with another tray, a piece of cardboard, or a clean newspaper. This darkness encourages the roots to grow downwards and helps the grass shoot up straight and strong, mimicking the initial stages of growth under soil. Mist daily during this period.
- Introduce Light & Continue Misting: Once the grass reaches about 1-2 inches tall (usually after 1-2 days in the dark), remove the cover. Place the tray in a location that receives indirect sunlight or under a grow light. Avoid direct, harsh sunlight, which can dry out the delicate grass too quickly. Continue to mist your wheatgrass 2-3 times a day. As the roots develop, they will form a dense mat on the bottom of the tray, absorbing moisture. Ensure there’s always a thin layer of moisture in the tray, but never let the grass sit in deep, stagnant water, which can lead to mold. Good air circulation around the tray is paramount.
- Monitor Growth & Prevent Mold: Keep an eye out for any signs of mold, which often appears as white, fluffy patches. If you see mold, it's usually due to overwatering or insufficient air circulation. Increase air flow, reduce misting, or remove affected areas if minor.
Maximizing Your Wheatgrass Harvest & Enjoying Its Benefits
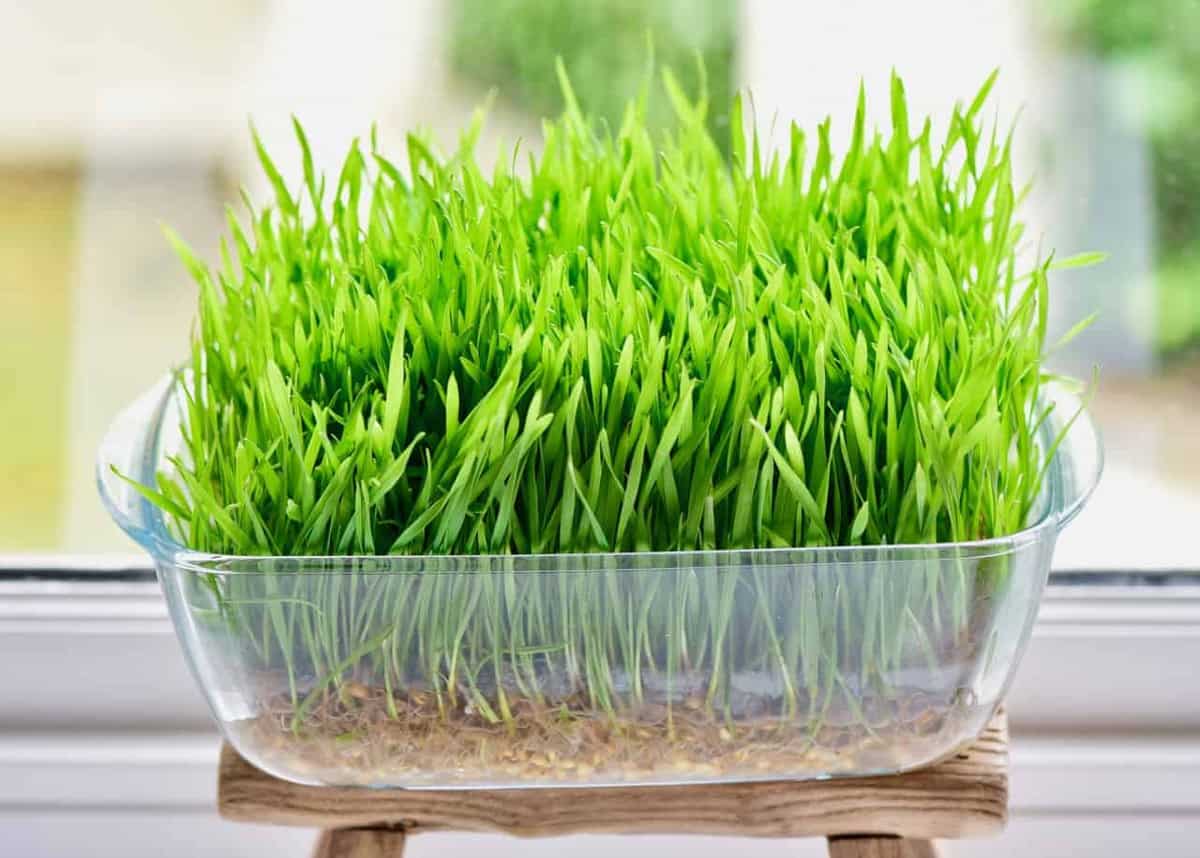
Your wheatgrass will grow remarkably fast! Typically, it's ready for harvest within 7-10 days of sprouting, when it reaches about 5-7 inches tall. You'll notice it's a vibrant green and has a strong, earthy aroma.
- Harvesting Your Wheatgrass: Using clean, sharp scissors, cut the grass close to the seed pad at the base. Try to cut it as evenly as possible. Once harvested, consume or juice your wheatgrass immediately for maximum potency.
- Second Harvest: You can usually get a second growth from your wheatgrass tray. After the first cut, continue to mist and care for the seed pad. New blades of grass will emerge. However, the second harvest will generally be less potent and yield a smaller amount than the first. After the second cut, it's best to discard the old seed pad and start a fresh batch for optimal results.
- Juicing for Health: The most popular way to consume wheatgrass is by juicing it into a shot. A slow masticating juicer is recommended as it extracts more juice and preserves more nutrients compared to centrifugal juicers.
- Incorporating Wheatgrass Into Your Diet:
- Wheatgrass Shots: Start with a small amount, like a half-shot (around 30ml), as the flavor is very strong and grassy. You can gradually increase the amount as your palate adjusts.
- Smoothies & Juices: Blend a small amount of wheatgrass juice or a few blades of grass into your fruit and vegetable smoothies or other fresh juices. It pairs well with apples, celery, cucumber, and ginger to balance its intense flavor.
- Other Culinary Uses: While less common due to its strong taste, a tiny dash of wheatgrass juice can be incorporated into salad dressings or even some savory dishes.
- Beyond the Kitchen: Fresh wheatgrass juice isn't just for drinking! Some enthusiasts incorporate it into their beauty routines. You can add it to your bathwater for a refreshing soak, massage it into your scalp (then rinse thoroughly) as a hair tonic, or apply it topically to soothe minor skin irritations, bites, or scratches.
- Storage Tips: Fresh wheatgrass juice is best consumed immediately. If you must store it, keep it in an airtight container in the refrigerator for no more than 24 hours to preserve its nutrients. Freshly cut grass can be stored in an airtight bag in the fridge for a few days before juicing.
Common Troubleshooting for Soilless Wheatgrass
Even with the best intentions, you might encounter a few minor issues:
- Mold Growth: This is the most common problem in soilless wheatgrass. It often appears as white, sometimes bluish-gray, fuzzy patches.
- Cause: Too much moisture, lack of air circulation, or non-sterile seeds/trays.
- Solution: Ensure trays are clean before use. Don't over-mist; aim for consistently moist, not soggy. Provide good air circulation (a small fan can help). If mold appears, sometimes removing the affected area and increasing air flow can salvage the batch, but often it's best to discard and start fresh with improved conditions.
- Yellowing or Weak Growth:
- Cause: Not enough light (after the initial dark period), irregular watering, or old/non-viable seeds.
- Solution: Ensure the grass receives adequate indirect light. Maintain consistent moisture levels. Purchase fresh, organic seeds from a reputable supplier.
Growing wheatgrass at home without soil is a rewarding and surprisingly easy endeavor. With just a few simple supplies and a commitment to regular misting, you can enjoy a continuous supply of this nutrient-dense superfood. Whether you're seeking a daily health boost, a cost-effective alternative to store-bought options, or simply a fun, green project, embracing the soilless method for wheatgrass cultivation is a fantastic choice. For a general overview of growing wheatgrass with both methods, you might find DIY Wheatgrass: Simple Steps for Growing With or Without Soil helpful. So, grab your seeds and start your journey to homegrown health today!
