Unlock the Power of DIY Wheatgrass: Grow Your Own Health Shots at Home
Once considered an exclusive health tonic, wheatgrass has burst into mainstream popularity, celebrated for its vibrant green hue and potent nutrient profile. Many of us might have first encountered it as that "shot of health" at a local juice bar, but the cost of a daily dose can quickly add up. What if you could harness this superfood's benefits from the comfort of your kitchen, saving money and ensuring peak freshness? The good news is, learning how to grow wheatgrass at home with or without soil is remarkably simple, accessible to anyone with a little patience and a sunny spot.
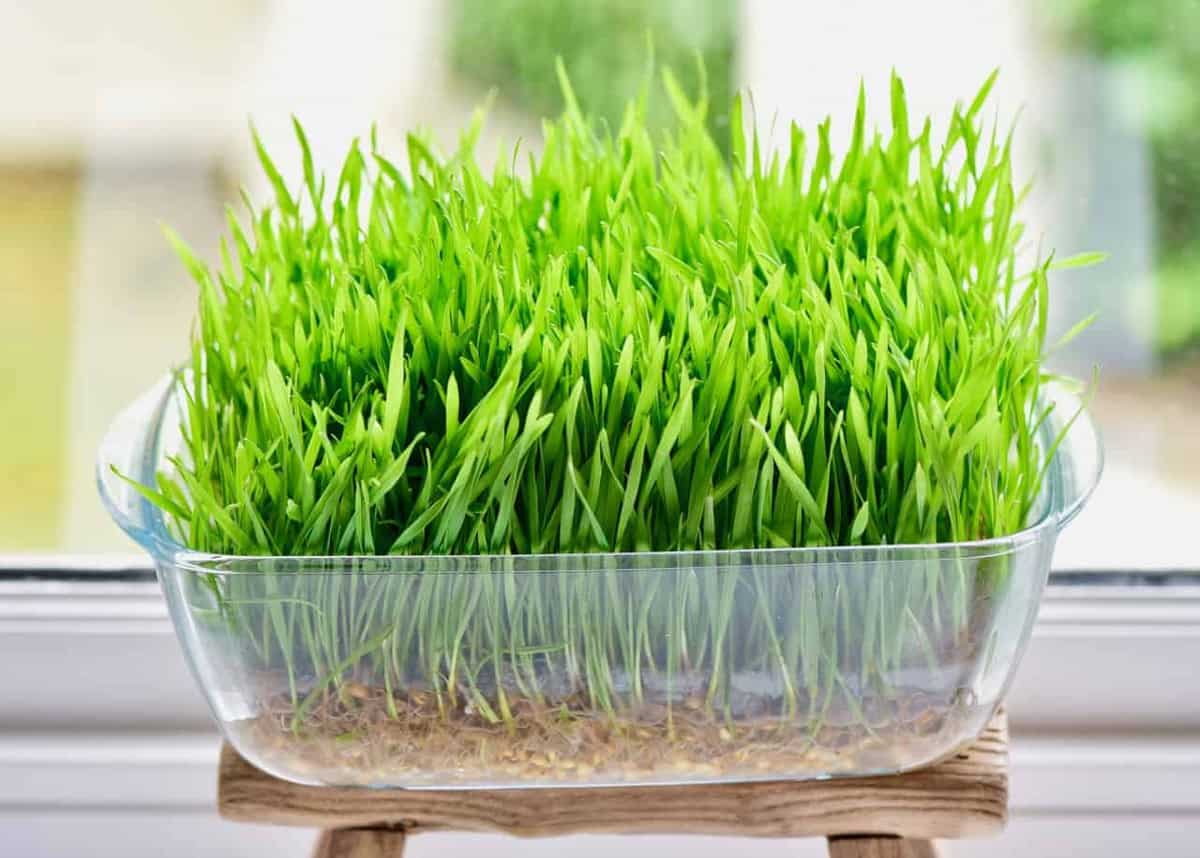
Wheatgrass is essentially the young grass of the common wheat plant, harvested while it's still tender, usually within 7 to 10 days of sprouting. This vibrant green blade is packed with chlorophyll, vitamins (A, B complex, C, E, K), minerals (iron, zinc, copper, manganese), and even proteins, making it a natural detoxifier and a powerful antioxidant. Whether you're aiming to boost your immunity, cleanse your system, or simply incorporate more living foods into your diet, homegrown wheatgrass offers an unbeatable advantage.
Why Cultivate Your Own Wheatgrass? Beyond the Green Shot
The allure of wheatgrass extends far beyond its perceived health benefits, though those are certainly a major draw. Opting for homemade wheatgrass over store-bought alternatives provides several compelling advantages:
- Cost-Effectiveness: Daily shots from a juice bar can significantly impact your wallet. Growing your own from inexpensive organic seeds dramatically cuts down on costs, making this nutritional powerhouse an affordable daily indulgence. You can learn more about the financial benefits in our article, Grow Wheatgrass at Home: Save Money & Boost Your Health.
- Unmatched Freshness: There's no substitute for the vitality of freshly cut wheatgrass. Harvesting it minutes before consumption ensures you receive the maximum enzyme and nutrient content, which can degrade rapidly after juicing.
- Purity and Control: When you grow your own, you have complete control over the environment. Choosing organic seeds and using filtered water means you can enjoy your wheatgrass free from pesticides or unwanted chemicals.
- Versatile Uses: While wheatgrass shots are popular, the juice can be a potent addition to smoothies, other juices, salad dressings, and even a unique ingredient in certain culinary creations. Some enthusiasts even use it topically for skin soothing or a scalp massage, though we recommend starting with consumption.
Ready to embark on this rewarding journey? Let's gather what you'll need.
Essential Supplies for Your Wheatgrass Journey
Before you dive into planting, ensure you have these basic items on hand. The beauty of wheatgrass is its minimal requirements:
- Organic Wheatgrass Seeds: Also known as hard red winter wheat berries. Opt for organic to ensure a clean, chemical-free product.
- Water: Filtered water is ideal.
- Sprouting Container: A glass jar with a mesh lid or a dedicated seed sprouter works perfectly for the initial sprouting phase.
- Growing Tray: For the soil method, choose a shallow tray with drainage holes. For the soilless method, a tray without drainage holes or a hydroponic growing tray will suffice.
- Organic Potting Soil/Compost (Optional, for soil method): A high-quality, organic growing medium.
- Lid or Newspaper (Optional, for soil method): To create a dark environment for initial growth.
- Spray Bottle: Essential for misting, especially in the early stages.
Sprouting Your Wheatgrass Seeds: The Universal First Step
Regardless of whether you choose to grow your wheatgrass with or without soil, the journey begins with sprouting the seeds. This crucial step wakes up the seeds, initiating germination and ensuring a higher success rate for your crop.
- Rinse and Soak: Begin by thoroughly rinsing your organic wheatgrass seeds under cool, running water. This removes any dust or debris. Place the rinsed seeds into your sprouting container (e.g., a glass jar). Add about 1 cup of filtered water for every 1/2 cup of seeds, ensuring they are fully submerged. Cover the container with a mesh lid (or cheesecloth secured with a rubber band) and let them soak for 8-12 hours, preferably overnight.
- Drain and Rinse: After soaking, drain the water completely. Rinse the seeds again thoroughly under cool water, then drain well. It's important to ensure no standing water remains, as this can lead to mold.
- Repeat Rinsing: Place the container upside down at an angle (e.g., in a dish rack) to allow excess water to drain and ensure air circulation. Rinse and drain the seeds 2-3 times a day for the next 2-3 days. You'll soon notice tiny white sprouts emerging from the seeds – these are the roots. This process is exciting, as it confirms your seeds are alive and ready for the next stage!
Once you see those little sprouts, your seeds are primed for planting!
Method 1: Growing Wheatgrass with Soil
Growing wheatgrass in soil is a traditional and highly effective method. It often yields thicker, more robust blades due to the nutrient availability in the soil.
- Prepare Your Tray: Take a shallow tray with drainage holes. Add about 1 inch (2.5 cm) of organic potting soil or compost. Lightly moisten the soil, ensuring it's damp but not waterlogged.
- Plant the Sprouts: Evenly sprinkle your sprouted wheatgrass seeds across the surface of the moistened soil. Try to cover the entire surface without piling the seeds on top of each other. Gently press them into the soil, but do not bury them.
- Darkness for Early Growth: Cover the tray with a lid or a sheet of newspaper. This darkness encourages the sprouts to reach upwards, a process called etiolation, producing taller, tender grass.
- Daily Misting: Lightly mist the seeds daily with water to keep the soil consistently moist. Avoid overwatering, which can lead to mold.
- Introduce Light: Once the grass reaches about 1-2 inches (2.5-5 cm) tall (usually after 3-4 days), remove the lid or newspaper. Move the tray to a spot with indirect sunlight or under a grow light. Direct, harsh sunlight can scorch the tender blades.
- Continue Watering: Water daily by misting or lightly watering the soil. You want the soil to be damp, not soggy. Good air circulation is also beneficial at this stage to prevent mold.
Method 2: Growing Wheatgrass Without Soil
For those seeking a cleaner, potentially faster, and less messy alternative, growing wheatgrass without soil is an excellent option. This method primarily relies on water and air to nurture the sprouts.
- Prepare Your Tray: Use a shallow tray without drainage holes, or a dedicated hydroponic growing tray with a mesh insert. If using a simple tray, you can line it with a thin layer of wet paper towels or a piece of thin fabric to provide a moist base.
- Arrange the Sprouts: Carefully spread your pre-sprouted wheatgrass seeds evenly across the bottom of the tray or on your chosen moist base. Again, aim for a single layer without excessive overlapping.
- Maintain Moisture: Pour a small amount of water into the tray, just enough to barely cover the roots of the sprouts without submerging the seeds entirely. Alternatively, if using a mesh tray, ensure the bottom of the mesh is constantly touching water.
- Initial Darkness (Optional but Recommended): Similar to the soil method, covering the tray for the first 2-3 days can encourage taller growth. Mist daily.
- Provide Light: Once the grass reaches 1-2 inches, remove the cover and move the tray to a location with indirect sunlight.
- Daily Care: Change the water in the tray daily to prevent stagnation and mold growth. If using a paper towel base, keep it consistently damp by misting or adding a little water. Good airflow is particularly crucial for soilless methods to prevent mold. For a deeper dive into this technique, check out our guide on Easy Wheatgrass: Grow Fresh Shots at Home Without Soil.
Harvesting & Enjoying Your Homegrown Wheatgrass
The moment you've been waiting for! Harvesting your wheatgrass is simple and satisfying.
When to Harvest
Wheatgrass is typically ready for harvest when it reaches about 5-7 inches (12-18 cm) tall and has a vibrant green color, usually 7-10 days after planting. Harvesting at this stage ensures optimal nutrient content and sweetness before the grass becomes too fibrous.
How to Harvest
Using sharp kitchen shears or a knife, simply cut the grass close to the root line, about 1/4 to 1/2 inch (0.5-1 cm) above the soil or tray surface. Gather the blades and they are ready for use!
Re-growing Wheatgrass
After your first harvest, you can often get a second yield. Continue to water your tray, and new blades will sprout. However, the second harvest tends to be less potent and slightly tougher than the first. For optimal nutrition and flavor, we recommend starting a fresh batch after the second cut.
Enjoying Your Wheatgrass
The most popular way to consume wheatgrass is by juicing it into a fresh shot. If you're new to the taste, start with a small amount (e.g., 1/2 shot or 30ml) and gradually increase as you adjust to its strong, grassy flavor. Here are other creative ways to use your homegrown bounty:
- Juices and Smoothies: Blend a small amount into your favorite fruit or vegetable juices and smoothies for an extra nutritional kick.
- Dressings: Incorporate wheatgrass juice into homemade salad dressings for a unique flavor.
- Topical Applications: Some individuals apply wheatgrass juice topically to soothe minor skin irritations or as a scalp treatment (always rinse thoroughly afterward).
Store harvested wheatgrass in an airtight container in the refrigerator for up to a week, though it's best consumed immediately after cutting.
Conclusion
Growing your own wheatgrass at home, whether with soil or through a soilless method, is an incredibly rewarding and straightforward process. It empowers you to take control of your health, enjoy peak freshness, and save money, all while cultivating a vibrant green addition to your kitchen or garden. With these simple steps and a little daily care, you'll be enjoying your very own nutrient-dense wheatgrass shots in no time. So go ahead, embrace the green, and start your DIY wheatgrass journey today!
